🛠️ Create a Custom Component
Learn how to create a custom component in NoCodeVista using the Components menu. This guide walks you through the process of setting up HTML, CSS, and JavaScript for your component, configuring optional settings, and managing it in the library.
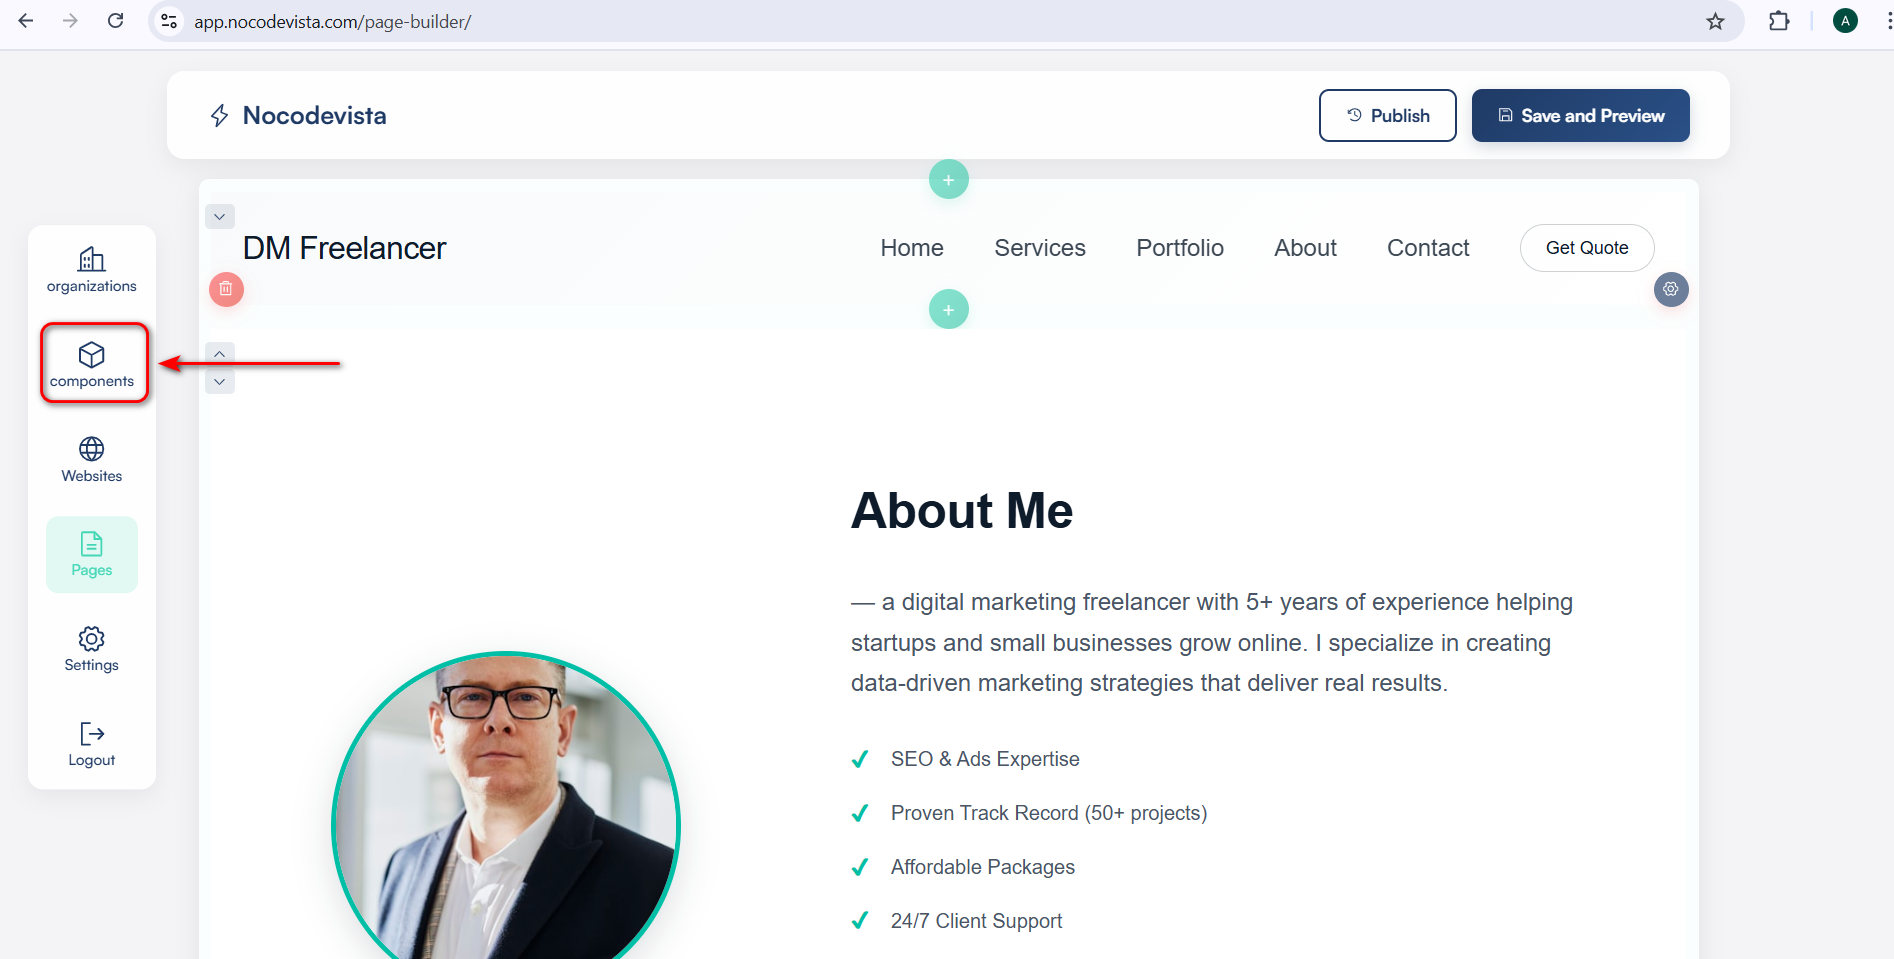
🔹 Step 1: Open Components Menu
From the left sidebar, click Components to access the component library and creation tools.
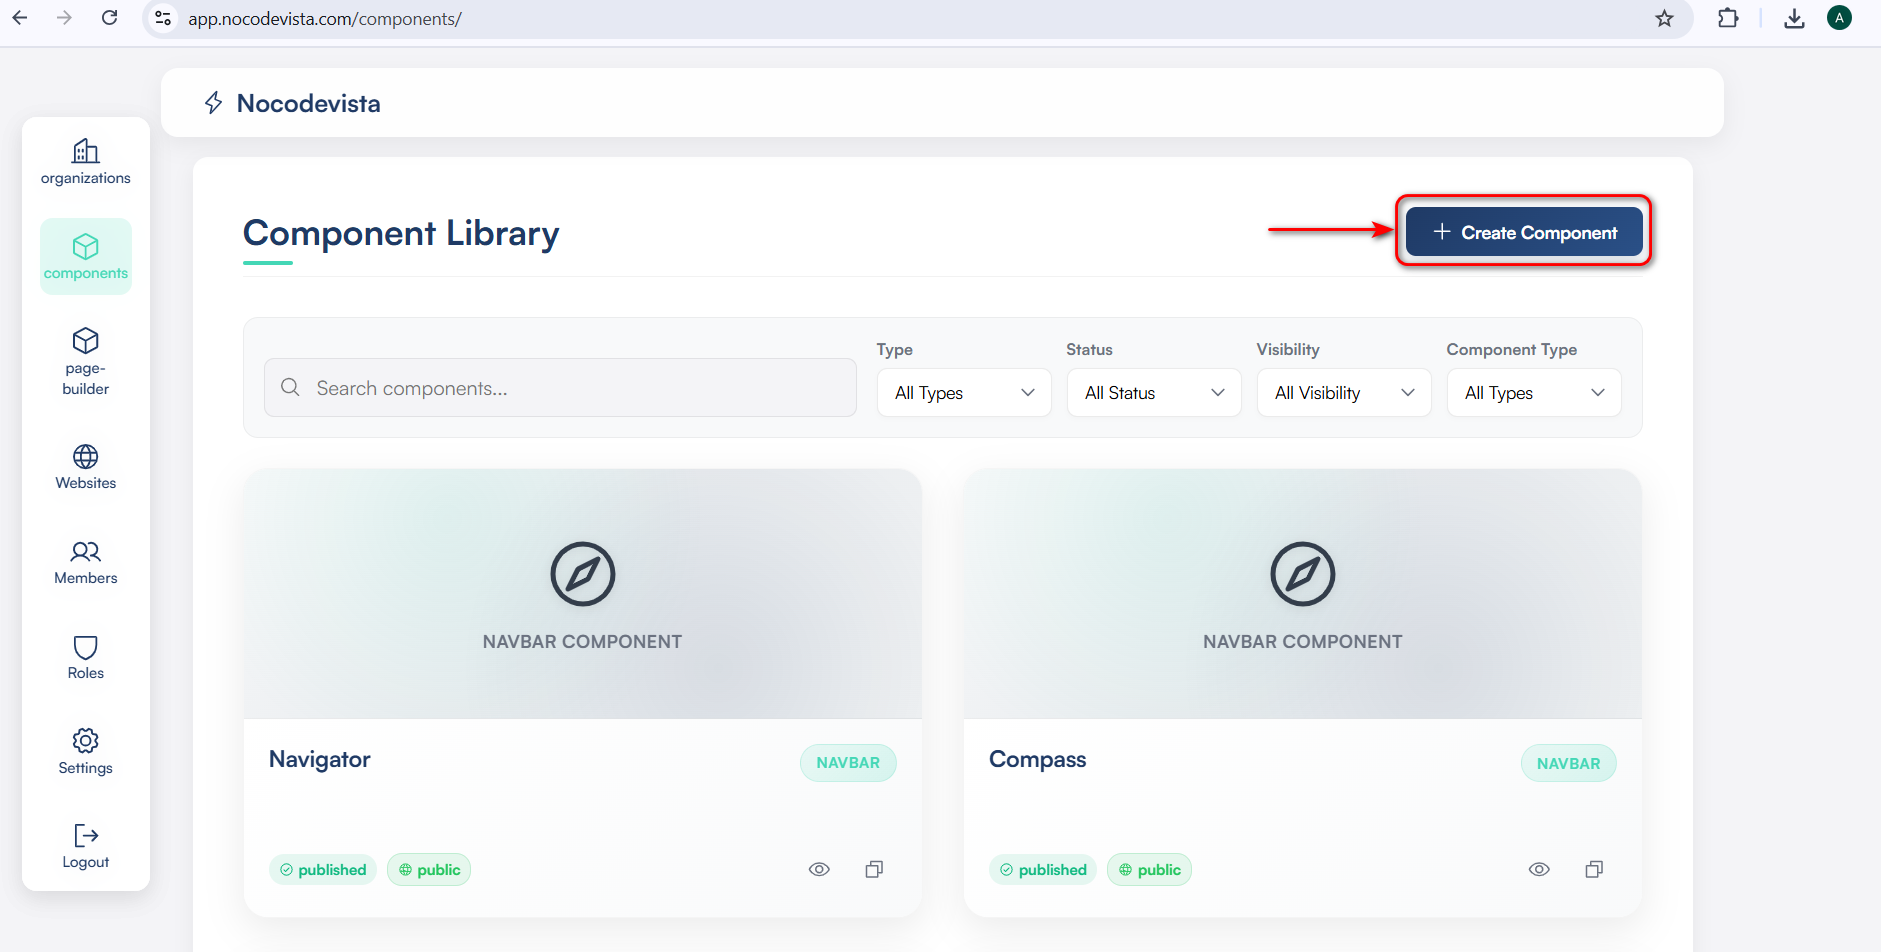
🔹 Step 2: Start Creating Component
Click + Create Component located at the top right corner to start creating your custom component.
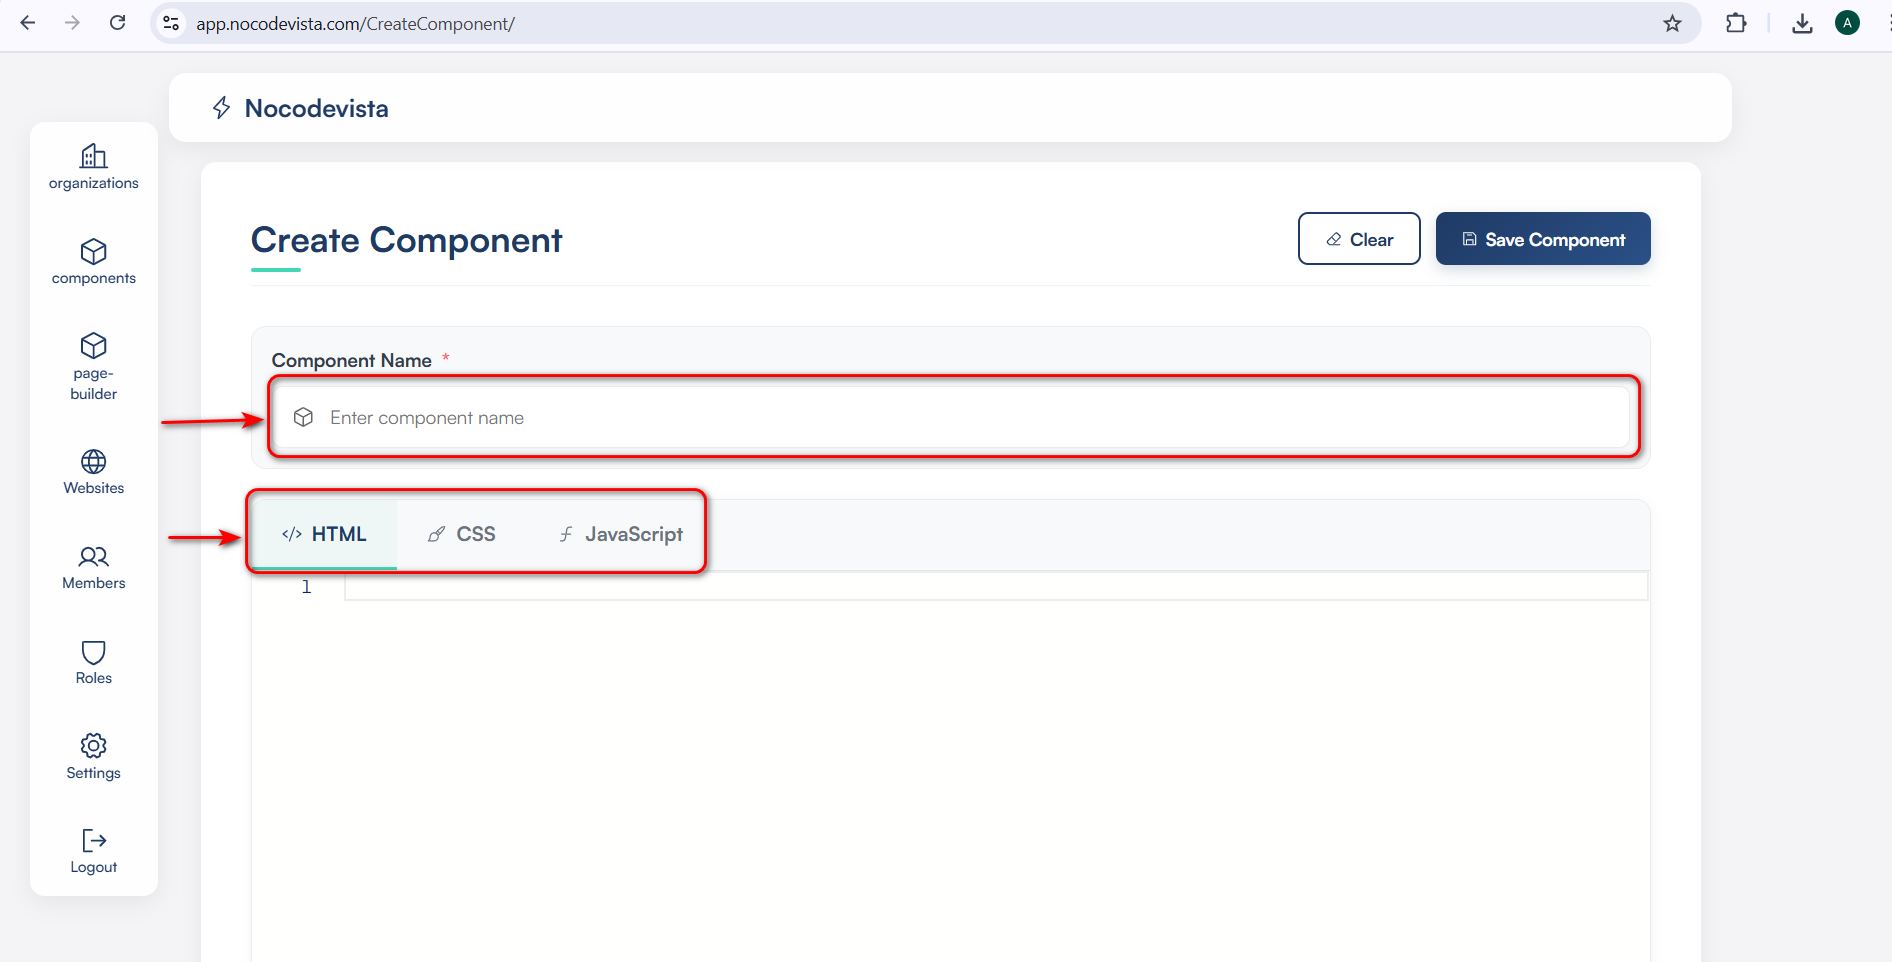
🔹 Step 3: Fill Required Fields & Code
- Component Name — mandatory field.
- HTML Editor — enter the component structure.
- CSS Editor — add styling for your component.
- JavaScript Editor — define behavior and interactivity.
💡 Note: System may validate HTML, CSS, and JS fields. Ensure your code is valid and non-empty to avoid errors.
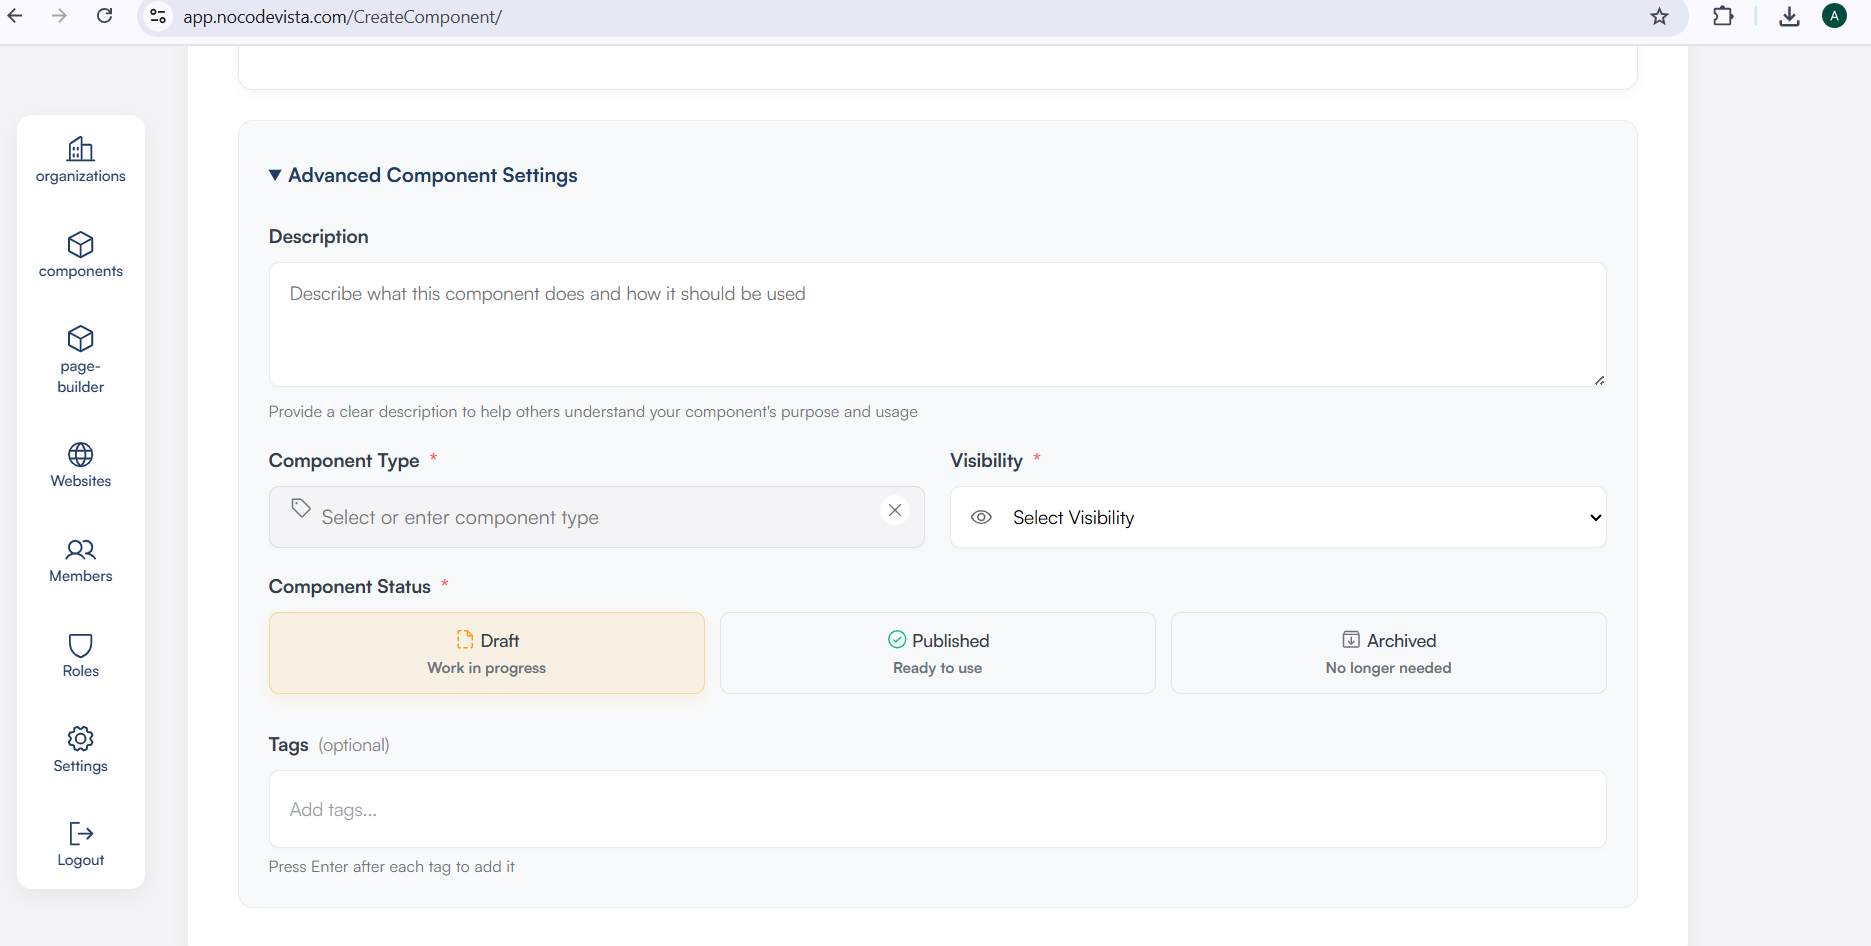
🔹 Step 4: Optional Settings
- Description: Add a short explanation of your component.
- Type: e.g., header, footer, navbar, hero, testimonial.
- Visibility: Public, Private, or Team Members only.
- Component Status: Draft, Published, or Archived.
- Tags: Add tags for search and filtering.
🔹 Step 5: Save Component
Click Save Component (usually at the top). Your component will now appear in the Component Library ready to use on pages.
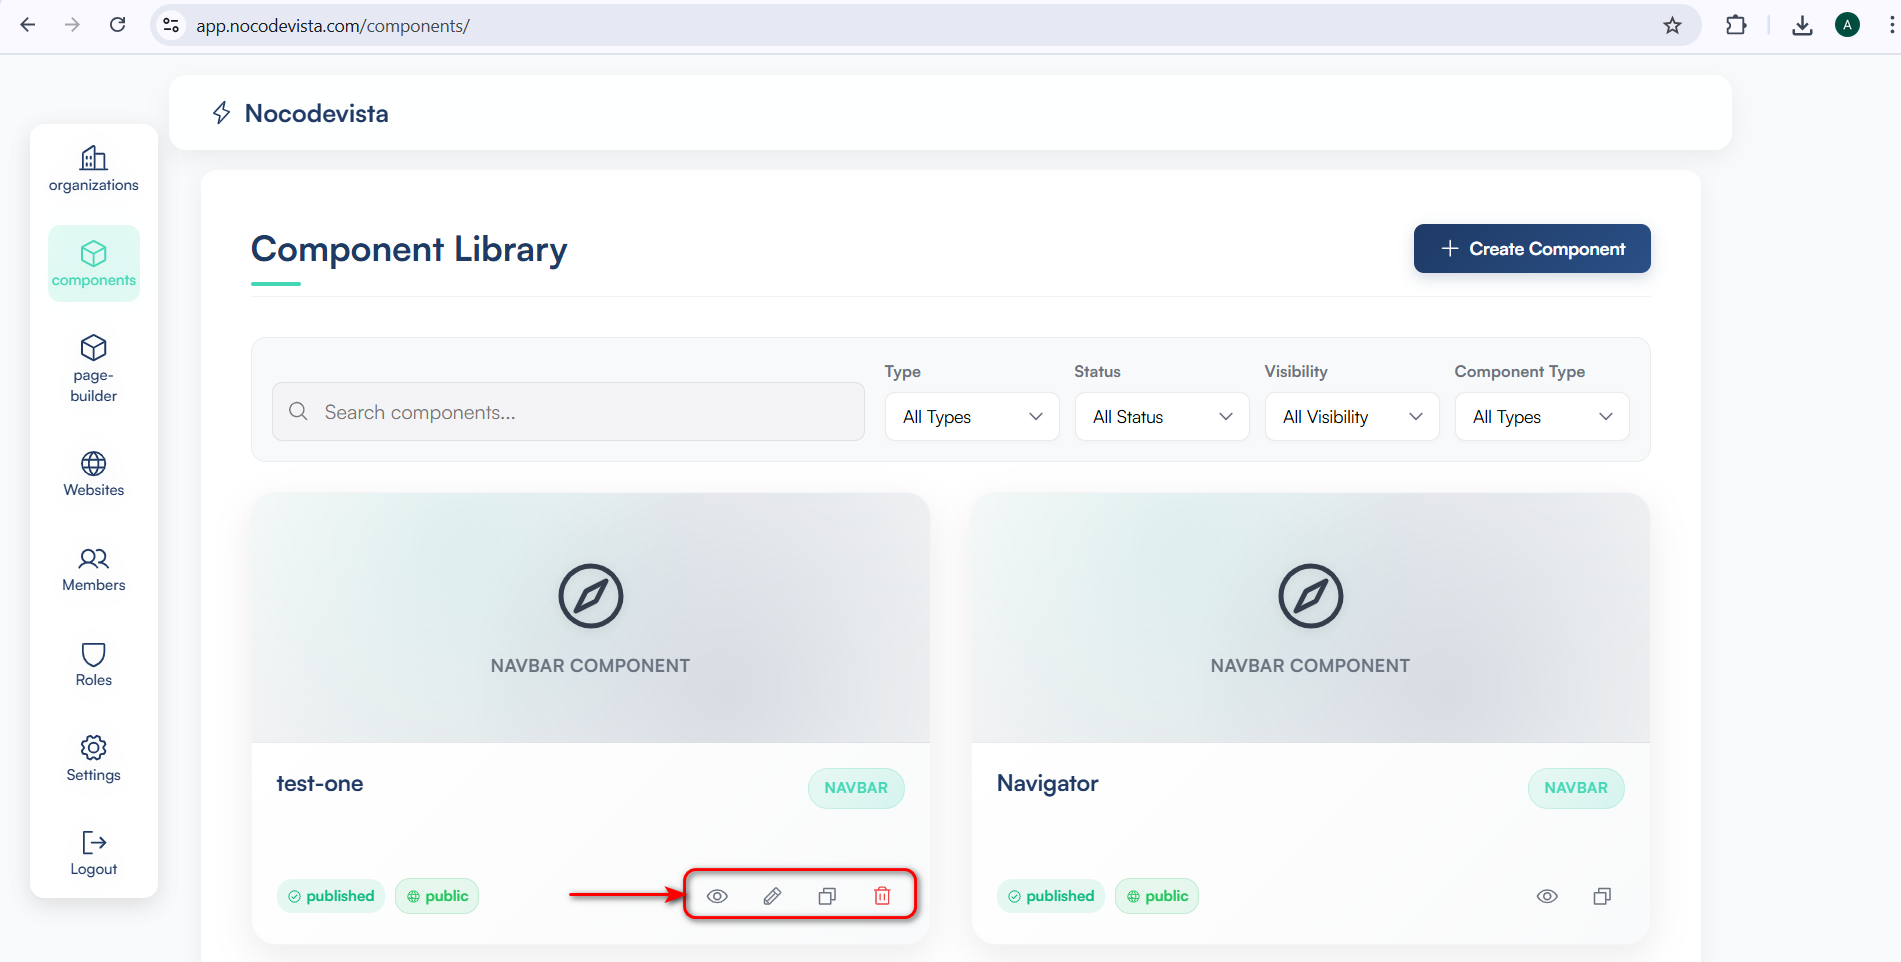
🔹 Step 6: Post-Creation Actions
- Preview: Click the eye icon to preview your component full-screen.
- Copy: Click the copy icon to duplicate the component.
- Edit: Click the pencil icon to modify code or settings.
- Delete: Click the trash icon to remove the component (confirm if prompted).