Roles & Permissions
Learn how to manage user access with custom roles and permissions using Role-Based Access Control (RBAC).
Tutorial 1: How to Create Roles
Why It Matters
Creating roles helps you define who can do what in your organization — without managing individual permissions for every user.
Step-by-Step Guide
- Log in to your dashboard.
- Navigate to your organization dashboard.
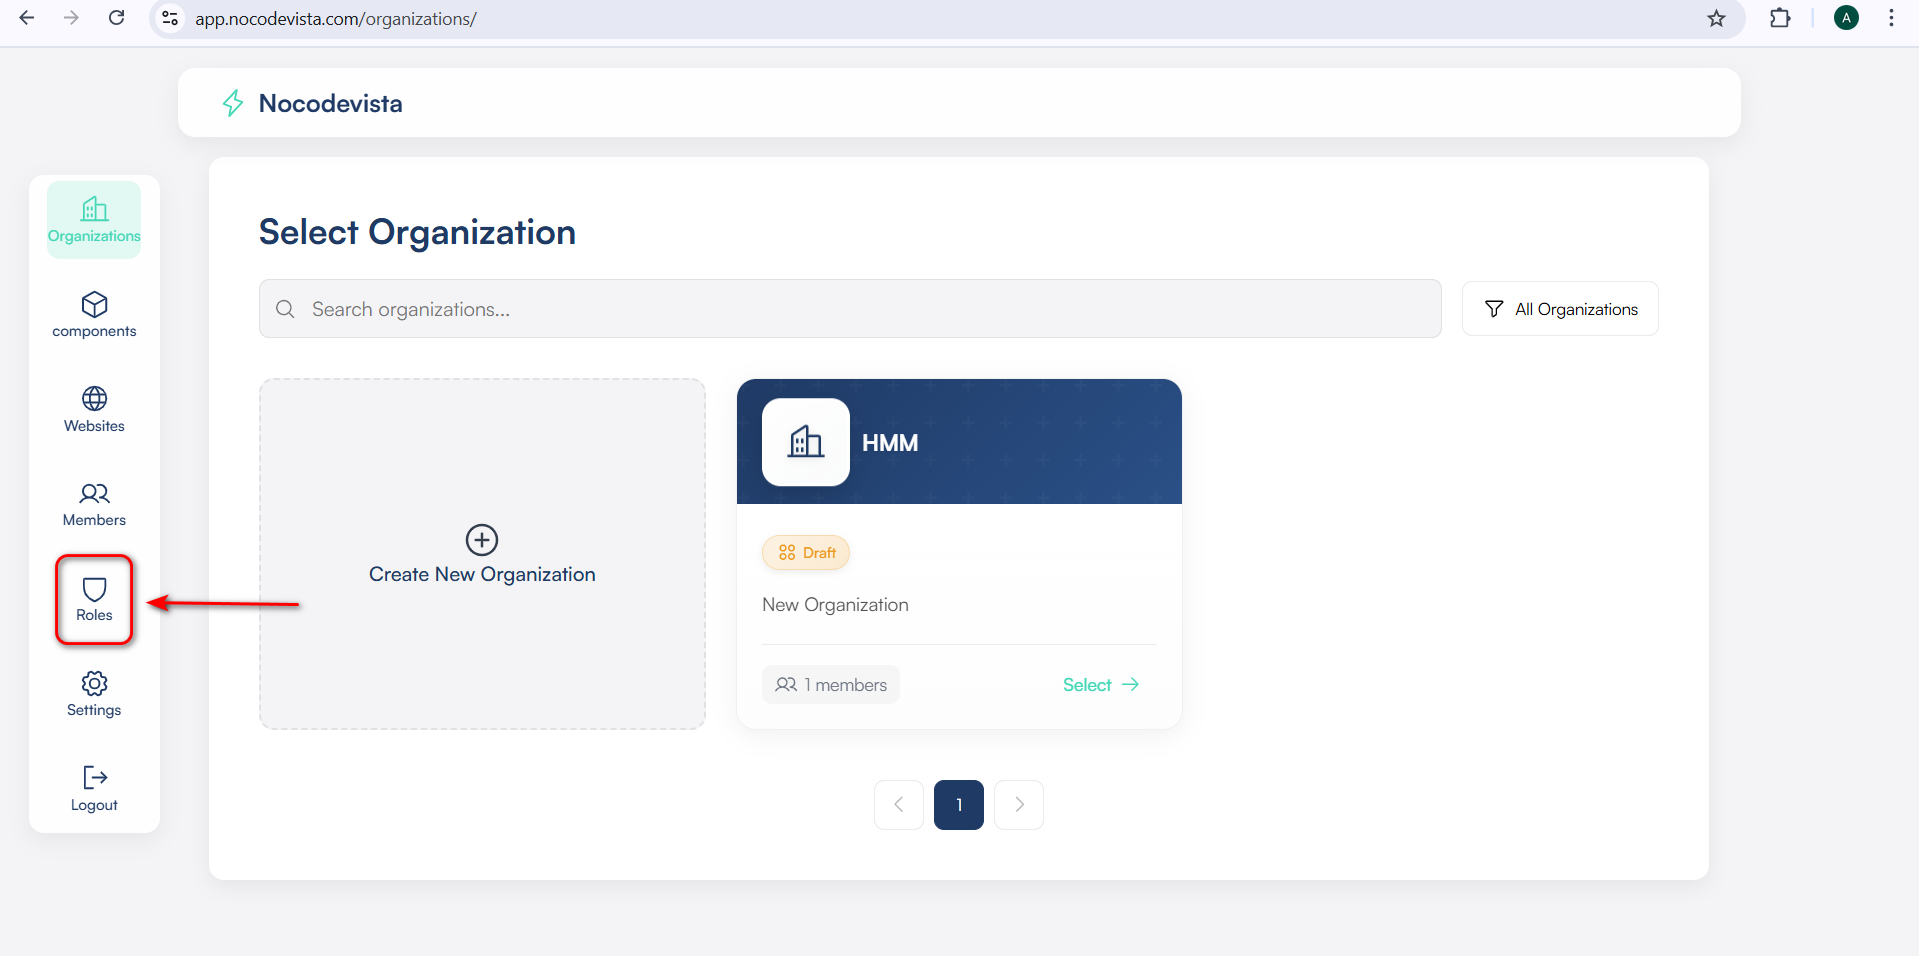
- Go to > Roles.
- Click on the Roles tab in the sidebar.
- Click on “+ Create Role” — this button appears at the top-right corner.
- Name the Role: Choose a clear name like:
- Owner
- Admin
- Manager
- Viewer
- (Optional) Add a Description
Example: “Managers can view and update customer data but can’t delete records.” - Click “Save” — your role will now appear in the roles list.
Example
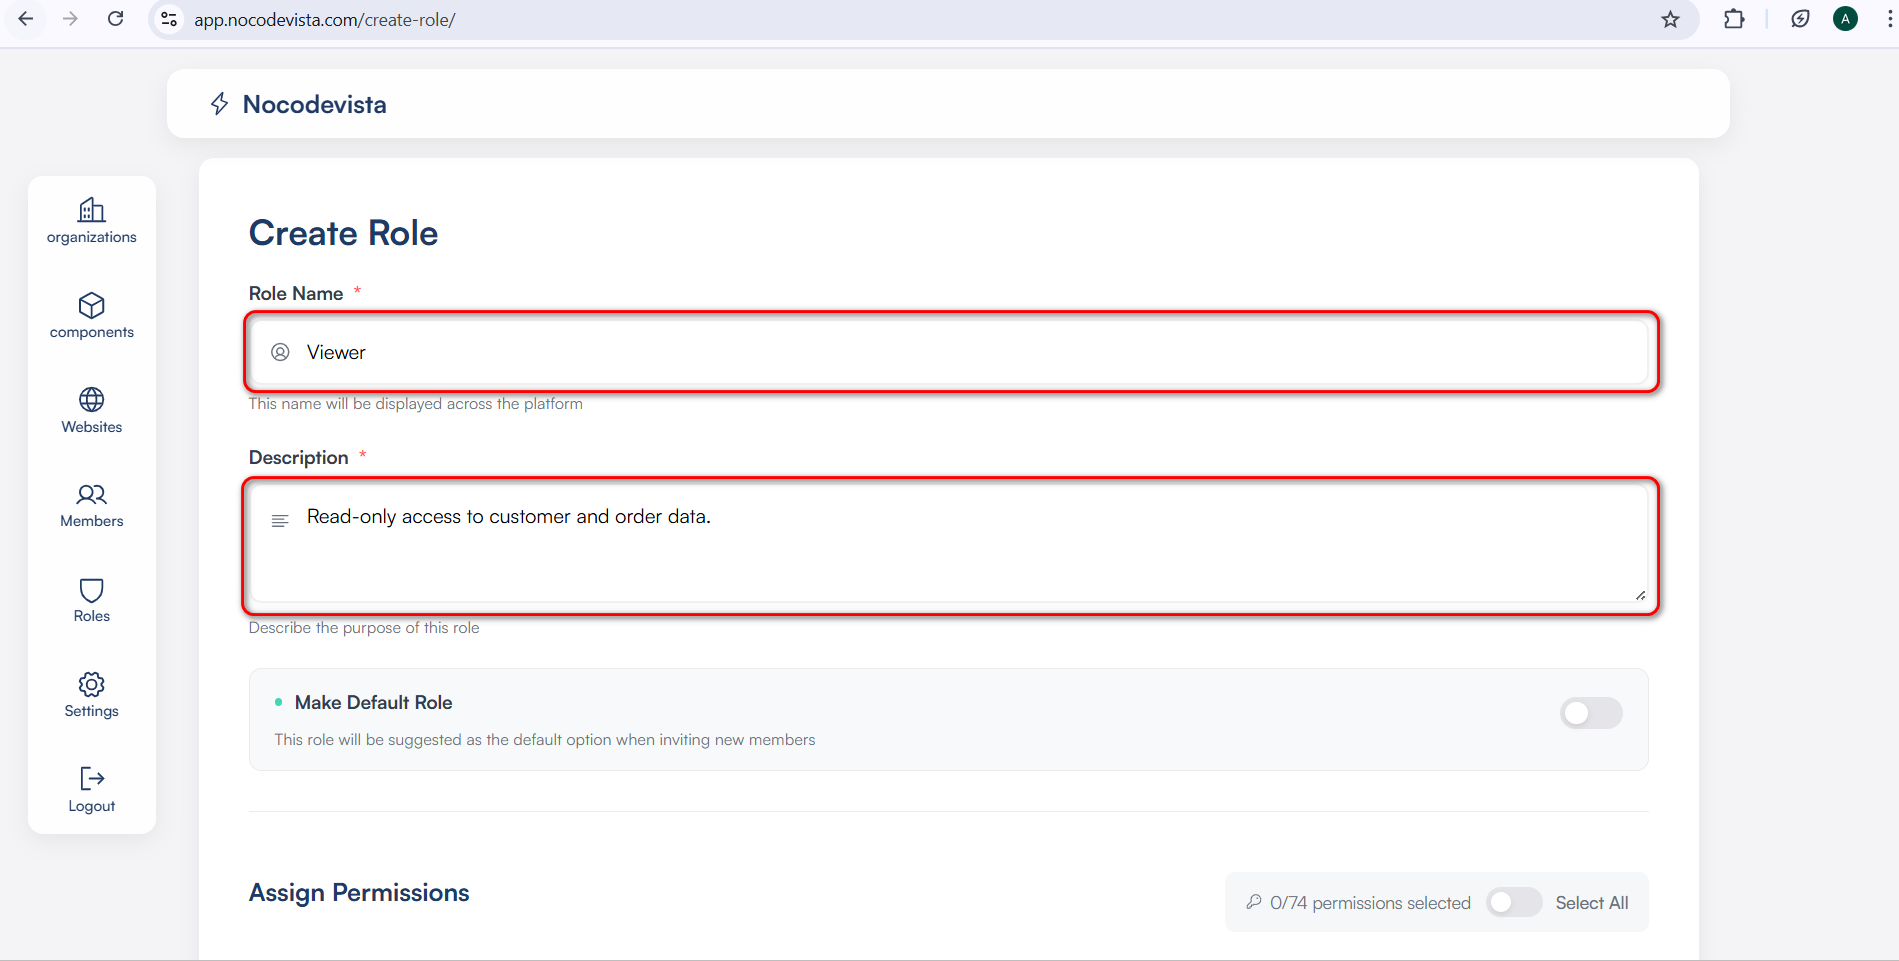
Role: Viewer
Description: Read-only access to customer and order data.
Tip
💡 Use role names that clearly reflect what the person can do. It helps with future management.